
“What’s This One Called?”
 All Classroom Lessons
A Lesson for Kindergarten, First, and Second Grade

A Lesson for Kindergartners and First Graders
by Kristin Garrison
All too often young children fail to remember the names of pattern block shapes. Over the years, Kristin Garrison has found that if teachers don’t give students frequent opportunities to use pattern block names and become familiar with the attributes of the shapes, when handling pattern blocks after they leave kindergarten and first grade, they still ask, “What’s this one called?” This activity helps students master shape names and characteristics as well as provides experience with estimating and counting.
Day One
The triangle is a shape that many children tend to know. It’s a good shape to start off with when helping students focus on shapes and their attributes. To prepare for this lesson, I put 17 green triangles from a set of pattern blocks into a small jar. (I chose this number because I thought it would be an appropriate amount for the children to estimate and count at that time of the year.) I also drew a large triangle in the shape of the green pattern block on chart paper, and I made sure I had enough additional pattern blocks on hand to pass one to each student during the lesson.
I invited the children to come sit on the rug. I pointed to the triangle I had drawn on the chart. “Raise your hand if you know what this shape is,” I said. Most hands shot up and I had the children respond together in whisper voices.
Then I said, “I’m going to give each of you a triangle from our pattern blocks to hold and look at. When you get your triangle, look very closely at it. In a minute, we’ll list on our chart things you notice about its shape.”
After a minute or two, I said, “Raise your hand if you know what color your triangle block is.” All hands shot up and I again had the children respond together in whisper voices.
“All of these triangles are green,” I confirmed. “Now, who can tell us something you notice about the shape of your triangle?”
“It has three sides,” Lucy said. I wrote Triangles at the top of the chart and recorded Lucy’s idea.
“It has three points,” Gabrielle said.
I responded, “You’re right, it does have three points. Another way to say the same thing is that it has three angles, or three corners.” I recorded these ideas on the chart.
Next, I collected the pattern blocks from the children and showed them the jar. I explained, “Today I’ve put some triangles just like the ones you were holding in our estimating jar. Think for a minute about how many triangles you guess are in the jar. Then we’ll go around the circle and you can tell me what your estimate, or guess, is.”
As children reported their estimates, I wrote them inside the triangle on the chart. When I had recorded all of their estimates, we counted the blocks in the jar. First I took them out of the jar, one by one, as the children counted along with me. Then I organized them into twos and pointed to each pair as the children counted by twos along with me. Then I put the triangles back into the jar, one by one, and we counted again. (Depending on the grade level, time of year, and number of blocks in the jar, I also sometimes count the blocks by fives and tens.)
After we all agreed that we had counted the triangles correctly, I recorded a sentence on our chart describing how many triangles were in the jar. The chart now looked like this:
The children’s focus began to slip at this point, so I stopped the lesson and quickly reviewed what we had done so far.
Day Two
I began math time the next day by reviewing our chart and what we had learned from the previous lesson. Next I asked, “Can anyone think of something you have seen that comes in the shape of a triangle?”
I had previously read aloud several picture books about triangles, so the children had lots of ideas. As they shared, I wrote their ideas on the chart and drew a simple picture for each. I was careful to draw triangles oriented in a variety of directions. All too often young children believe that if the triangle is rotated or flipped, it’s no longer a triangle. To facilitate their under- standing, I called the students’ attention to the characteristics we had listed on the chart—three sides and three points, angles, or corners—and we used these as guidelines to determine if their suggestions were indeed triangles.
Finally, we made a class book titled Triangles. I gave each child a piece of paper that had several different-size triangles on it, facing a variety of directions. Each student chose one triangle shape to cut out. After thinking of something that came in the shape of a triangle, each child glued his or her triangle onto a page on which I had written: A triangle can be.
The student completed his or her page by coloring the picture in and completing the sentence (see Figures 1–3).
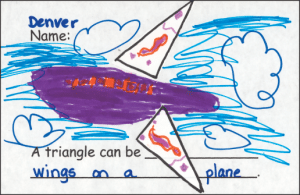
Figure 1. Denver used two triangles for the wings of an airplane.
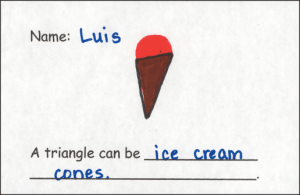
Figure 2. Luis used one triangle to make an ice-cream cone.
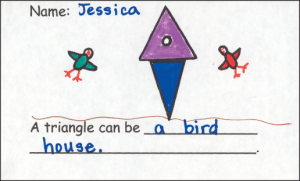
Figure 3. Jessica used two triangles—one for the birdhouse and one for
the stand.
When all of the children completed their pages, I bound the class book and we read it together. I put the book in our classroom library and kept the chart posted in the classroom. Then I repeated this lesson at other times for each of the shapes I wanted the students to master. As the year went on, we reread each of the class books we had made and revisited the ideas on our charts.
From Online Newsletter Issue Number 17, Spring 2005
Comments